Hey there, fellow art enthusiasts! If you've ever wanted to dive into the world of elephant drawing, you're in the right place. Whether you're a seasoned artist or just picking up a pencil for the first time, this guide is packed with tips and tricks to help you create stunning elephant masterpieces. So grab your sketchbook, and let's get started, shall we?
Drawing elephants might sound intimidating, but trust me, it’s not as hard as it seems. These majestic creatures are full of character, and capturing their essence on paper can be both fun and rewarding. From understanding their anatomy to adding those iconic details, we’ve got you covered. Let’s break it down step by step!
In this article, we’ll explore everything you need to know about elephant drawing. We’ll cover the basics, advanced techniques, and even some cool tricks to make your artwork stand out. Ready to unleash your inner artist? Let’s go!
Read also:Why Ebony Feet Are Turning Heads In The Beauty And Fashion World
Understanding the Basics of Elephant Drawing
Why Start with the Basics?
Elephant drawing might seem like a complex task, but it all starts with the fundamentals. Before you dive into intricate details, it’s essential to understand the basic shapes and proportions that make up an elephant. Think of it as building a strong foundation for your masterpiece.
Here’s a quick breakdown of what you need to focus on:
- Basic Shapes: Start with simple ovals and circles to outline the body and head.
- Proportions: Pay attention to the size of the ears, trunk, and legs in relation to the body.
- Symmetry: While elephants aren’t perfectly symmetrical, maintaining balance in your drawing will make it look more realistic.
By mastering these basics, you’ll find that drawing elephants becomes much easier and more enjoyable. Plus, it’ll give you the confidence to experiment with different styles and techniques.
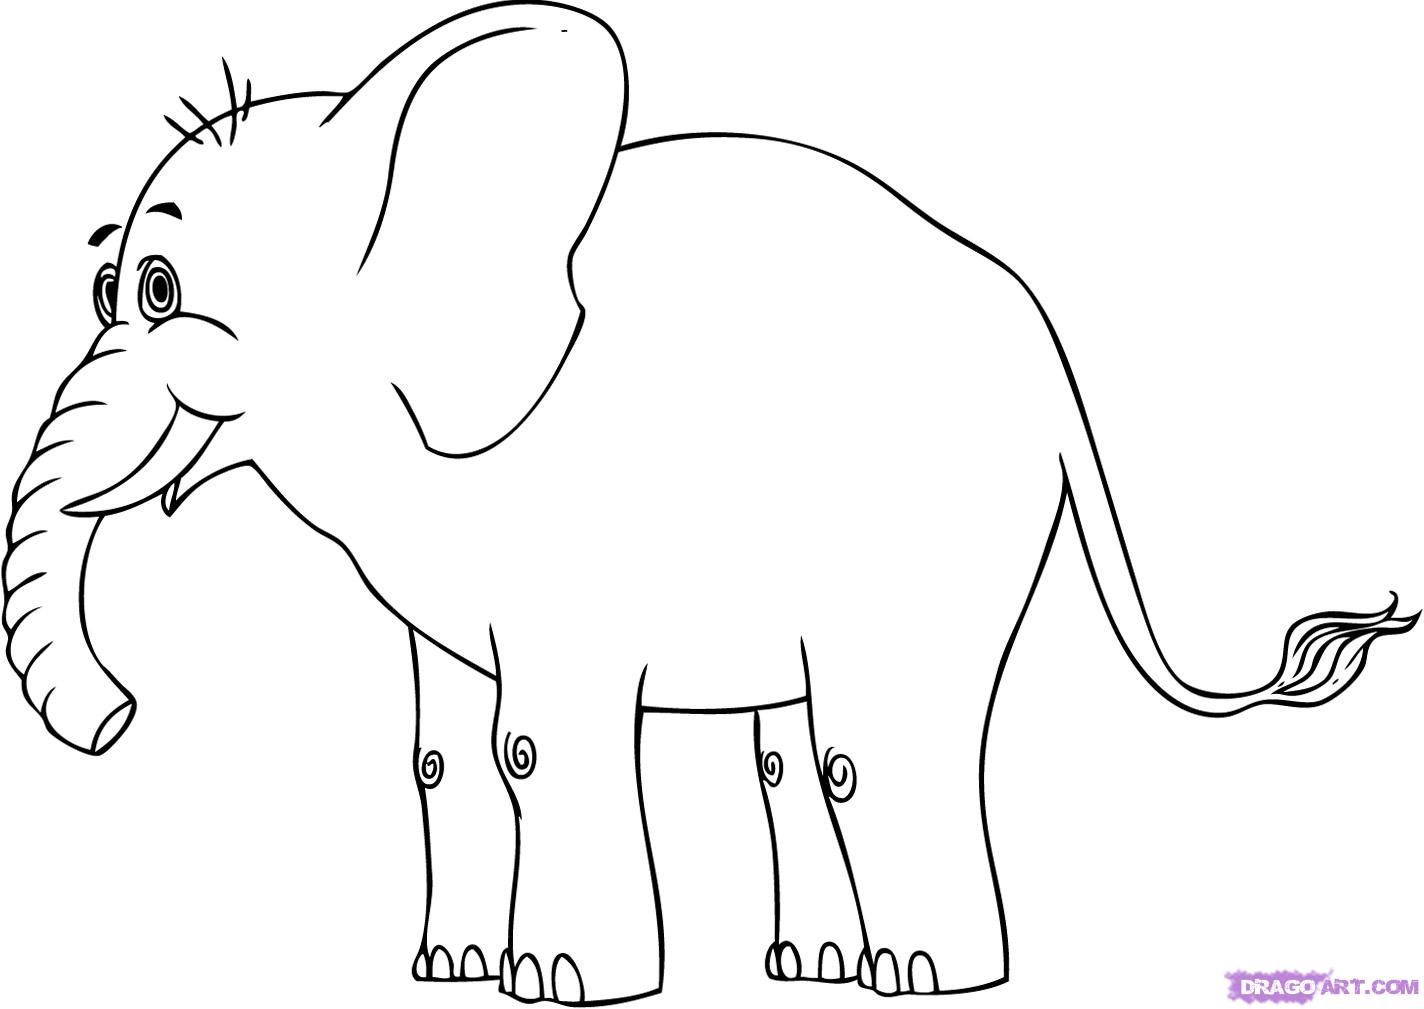
Step-by-Step Guide to Drawing an Elephant
Step 1: Sketch the Outline
Begin by sketching the basic shapes that form the elephant’s body. Use light, gentle strokes so you can easily erase and adjust as needed. Start with a large oval for the body and a smaller one for the head. Then, add circles for the legs and a long, curved line for the trunk.
Remember, this is just the foundation. Don’t worry if it doesn’t look perfect at this stage. The key is to get the proportions right before moving on to the next step.
Step 2: Add Details
Once you’re happy with the outline, it’s time to add some details. Start by defining the ears, which are one of the most distinctive features of an elephant. Then, work on the trunk, making sure to capture its unique curves and texture. Don’t forget to add the tusks and tail for that extra touch of realism.
Read also:Charlie B Hustle The Untold Story Of A Rising Star In The Hustle Scene
Pro tip: Use reference images to help you get the details just right. Observing real-life elephants will give you a better understanding of their anatomy and help you create a more lifelike drawing.
Advanced Techniques for Elephant Drawing
Shading and Texture
Shading is what brings your elephant drawing to life. To create a realistic effect, pay attention to the light source and how it affects the shadows on the elephant’s body. Use a range of shading techniques, such as cross-hatching, stippling, and blending, to add depth and texture.
When it comes to texture, focus on the elephant’s skin. Elephants have thick, wrinkled skin, so try to capture those folds and creases in your drawing. This will make your artwork look more authentic and engaging.
Common Mistakes to Avoid in Elephant Drawing
Getting the Proportions Wrong
One of the most common mistakes beginners make is getting the proportions wrong. Elephants have large ears, long trunks, and thick legs, so it’s easy to accidentally make them too small or too big. To avoid this, take your time and double-check your measurements as you go.
Another common mistake is forgetting to add details like the tusks and tail. These small features might seem insignificant, but they play a big role in making your drawing look realistic.
Tools and Materials for Elephant Drawing
What You’ll Need
Having the right tools can make a big difference in your elephant drawing journey. Here’s a list of essentials to get you started:
- Pencils: A set of graphite pencils in various grades (HB, 2B, 4B, etc.) will give you more control over your shading.
- Sketchbook: Choose a high-quality sketchbook with thick paper to handle different drawing techniques.
- Eraser: A kneaded eraser is perfect for lifting graphite and creating highlights in your drawing.
- Blending Tools: Use blending stumps or tortillons to smooth out your shading and create a more polished look.
Investing in good quality materials will not only improve your drawing experience but also elevate the quality of your artwork.
Inspiration and Reference for Elephant Drawing
Where to Find Inspiration
Looking for inspiration for your elephant drawing? The internet is full of amazing resources to help you out. Check out websites like Pinterest and DeviantArt for stunning elephant artwork that can spark your creativity. You can also find countless reference images on platforms like Unsplash and Pexels.
Don’t forget to explore the work of professional artists. Studying their techniques and styles can teach you a lot about improving your own skills. Plus, it’s always fun to discover new artists and expand your artistic horizons.
Tips for Adding Personality to Your Elephant Drawing
Make It Your Own
While it’s important to focus on realism, don’t be afraid to add your own personal touch to your elephant drawing. Whether it’s through unique color choices, creative backgrounds, or whimsical details, making your artwork stand out can be incredibly rewarding.
Consider experimenting with different art styles, such as cartoonish or abstract, to see what works best for you. The more you practice, the more confident you’ll become in expressing your unique artistic voice.
Practicing Your Elephant Drawing Skills
Consistency is Key
Like any skill, mastering elephant drawing takes time and practice. Set aside a few minutes each day to work on your drawing skills, and you’ll be amazed at how much you improve over time. Keep a sketchbook handy so you can jot down ideas and practice whenever inspiration strikes.
Joining art communities or taking online courses can also be a great way to stay motivated and receive feedback on your work. Surrounding yourself with like-minded individuals will keep you inspired and help you grow as an artist.
Conclusion: Embrace Your Inner Artist
And there you have it, folks! A comprehensive guide to elephant drawing that covers everything from the basics to advanced techniques. Remember, the key to becoming a great artist is practice, patience, and passion. So don’t be discouraged if your first few attempts don’t turn out exactly as you hoped. Every stroke of the pencil is a step towards improvement.
Now it’s your turn! Grab your pencils and start creating your own elephant masterpieces. Share your artwork with the world, and don’t forget to leave a comment below to let us know how it went. Happy drawing!
Table of Contents
- Understanding the Basics of Elephant Drawing
- Step-by-Step Guide to Drawing an Elephant
- Advanced Techniques for Elephant Drawing
- Common Mistakes to Avoid in Elephant Drawing
- Tools and Materials for Elephant Drawing
- Inspiration and Reference for Elephant Drawing
- Tips for Adding Personality to Your Elephant Drawing
- Practicing Your Elephant Drawing Skills
- Conclusion: Embrace Your Inner Artist
So, what are you waiting for? Let’s get those pencils moving and create some amazing art together. See ya!